
Here’s 3 ways how you can deploy an Azure WebJob with Azure DevOps.
I made a simple continuous nonsense webjob to demonstrate CI/CD possibilities of WebJobs in Azure DevOps. This webjob runs in infinite loop and gets current weather of my home town every minute and saves it to the blob storage. If interested, the code for the webjobs can be found in my github here.
1. Azure WebJob template way
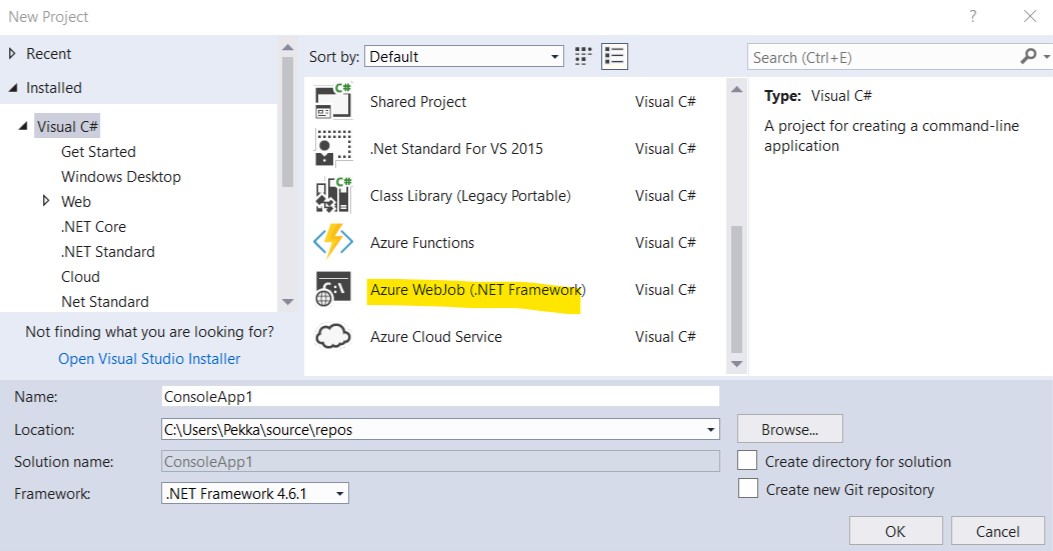
The easiest and latest (at the time of writing) way to deploy your webjob with Azure DevOps CI/CD pipelines is to create your webjob with Visual Studio template Azure Webjob (.NET Framework).
I created DemoWebJobOne with the template mentioned and published it to Azure from Visual Studio to create publishing settings to the project and also to create the Azure App Service Plan. Then I pushed the project to github. Next I logged in Azure DevOps to create CI/CD pipelines.
Build pipeline
I created new build pipeline from ASP.NET build template and removed tasks “Test Assemblies” and “Publish Symbol Paths” for simplify things. Otherwise I didn’t change anything in the pipeline template.
Release pipeline
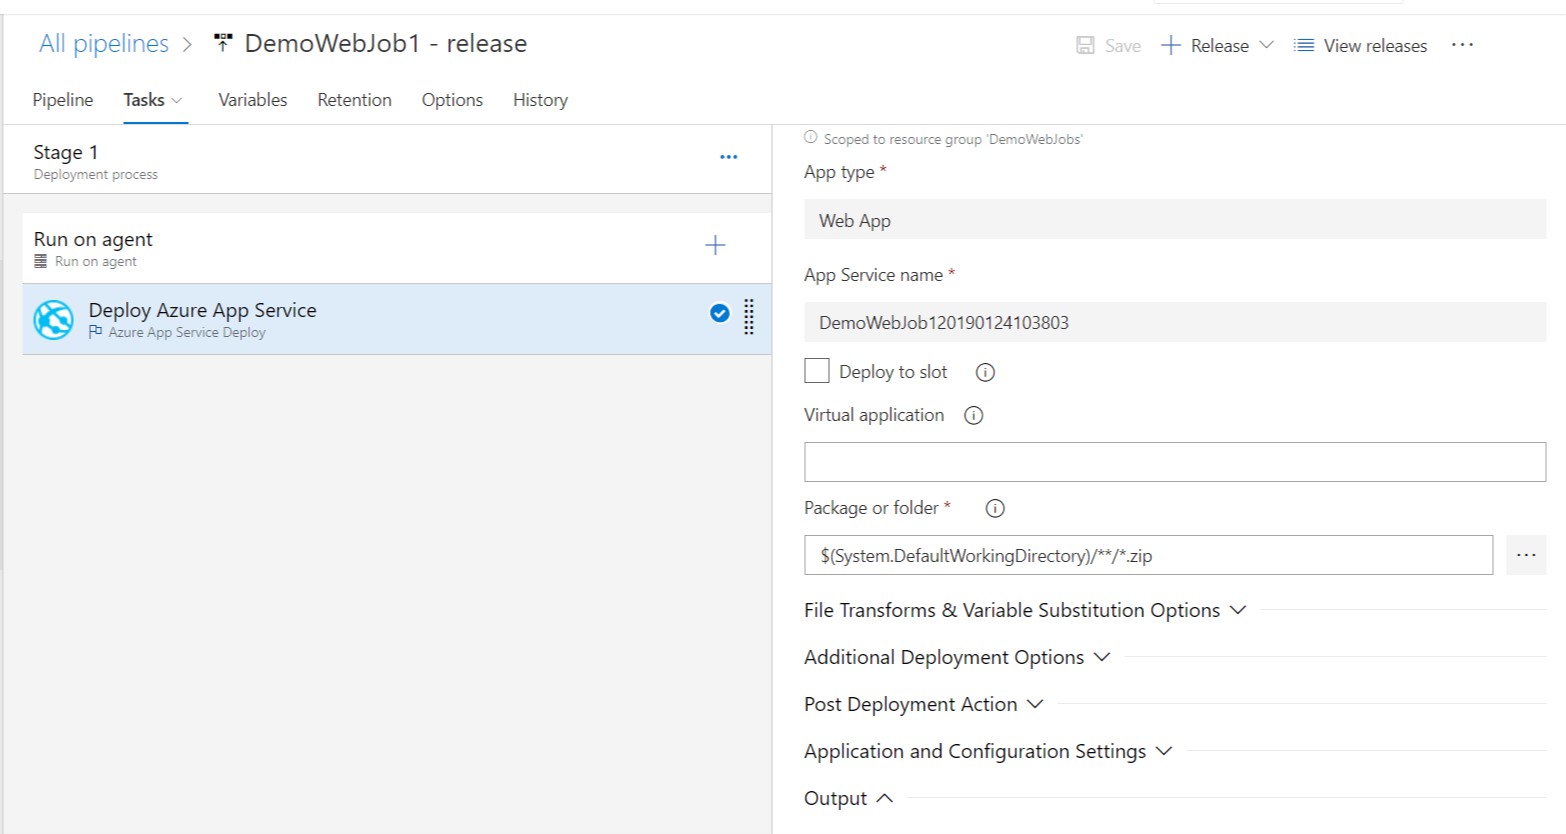
Next I created a release pipeline using template Azure App Service deployment. For source I chose the build pipeline created in the previous step. In the tasks I chose the App Service that was created when I published webjob from Visual Studio. Then all was set for deployment.
Deployment
The DemoWebJob1 was already deployed so first I removed the webjob from App Service. Then I ran the build pipeline and after that created a release which deployed DemoWebJob1 again to App Service. Then I stopped the App Service and put the needed Application settings in place and started the App Service. Blobs with the weather data started to show up to the storage.
Now that was quite easy, don’t you think.
2. Fake publish in Visual Studio
Next let’s have a look a method that is called “Fake publish” or at least it was called like that somewhere.
First I created a Console App (.NET Framework) in Visual Studio and copied the functionality to fetch the weather data and blob creation from the DemoWebJob1. Then I added the Microsoft.Azure.WebJobs nuget package to the solution. And again I pushed code to github repository. The repo for the DemoWebJob2 can be found here: DemoWebJobTwo.
The fake publish
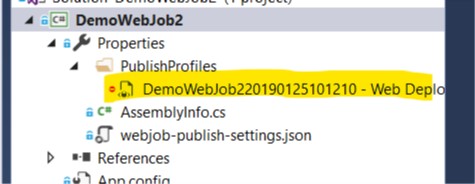
Next I created the publish settings for the DemoWebJob2. I right-clicked project in the solution explorer and chose Publish as Azure WebJob… Then I stopped in Settings, the last step before publish, and clicked close.
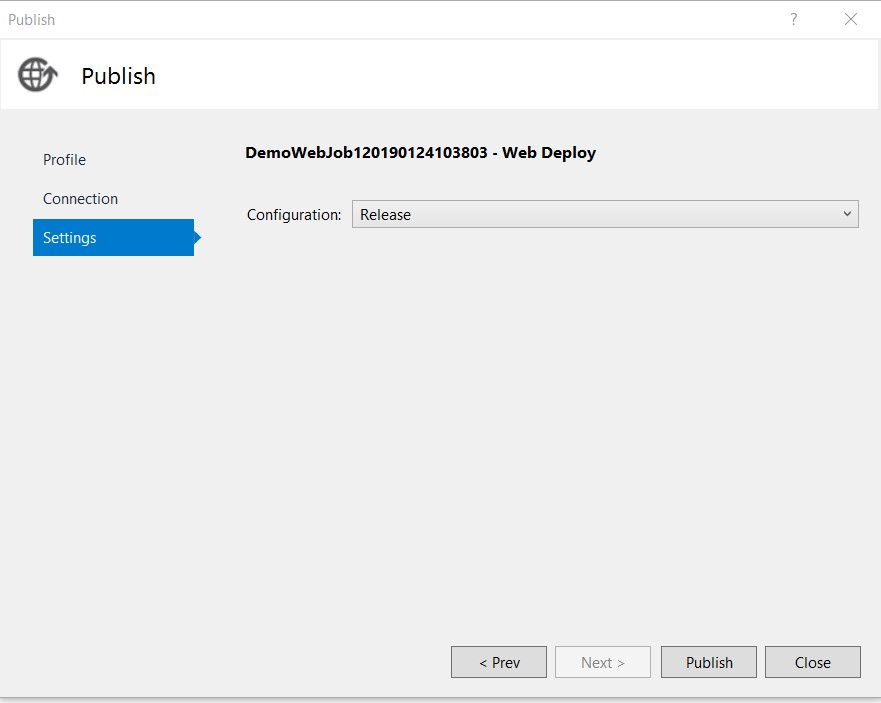
Now what happened is that publish settings got created to the project. And then we are ready to build and deploy in Azure DevOps.
Build and Release pipelines
Now build and release pipelines are same as pipelines in the first method. I only created new App Service to App Service Plan and set the new App Service to the release pipeline.
Deployment
Next I created build and release that deployed DemoWebjob2. Then I put the Application Settings in place and started the App Service. Again blobs started to pop up to the storage.
Well, not so hard with this method either, with that little publish settings creation trick.
3. The manual way
Now let’s say that you have for example an console app, windows service, or whatnot, that you want to run as a WebJob. Well let’s have a look how we can make that happen.
First I created again plain Console Application (.NET Framework). Then I copied the functionality from DemoWebJob2 and ended up a simple console app. And again I pushed the code to github repo. Source here: DemoWebJobThree.
Build pipeline
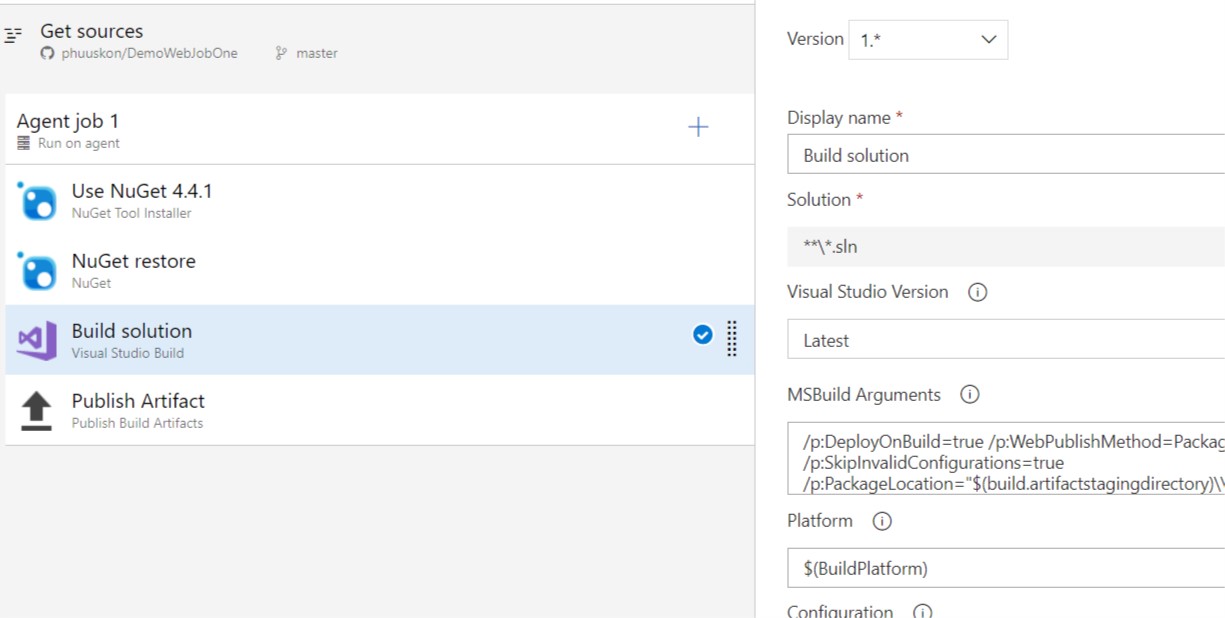
This time we need a bit different build pipeline. As before I created a build pipeline from ASP.NET template and removed the tasks that are not needed. But then in the Build Solution task I changed the MSBuild arguments to following: /p:OutputPath=$(build.artifactstagingdirectory)\DemoWebJob3\app_data\Jobs\Continuous\DemoWebJob3

What this does, is that the build creates the wanted directory structure to the build output. So when we do the publish in release pipeline, the assemblies are deployed to correct directory structure. Also notice that this way the build output is not packaged to one zip file and that too we must handle in the release pipeline.
Notice the path there (app_data\Jobs\Continuous\DemoWebJob3). If you want to deploy, let’s say a triggered WebJob, you must change Continuous to Triggered. If you look at the directory structure that gets created to App Service in any of these publish methods, you’ll see how the same structure is in all of them.
Release pipeline
Before creating the release pipeline I made a new App Service for the deployment so I can keep things tidy and separate. Again the release pipeline was created using template Azure App Service deployment. But now I changed things a bit in the Package or folder -section. This time what I wanted to publish is a directory structure with files created by the build pipeline. So I set the Package or folder to point to build output folder that contains the app_data directory: $(System.DefaultWorkingDirectory)/_DemoWebJob3 - build/drop/DemoWebJob3
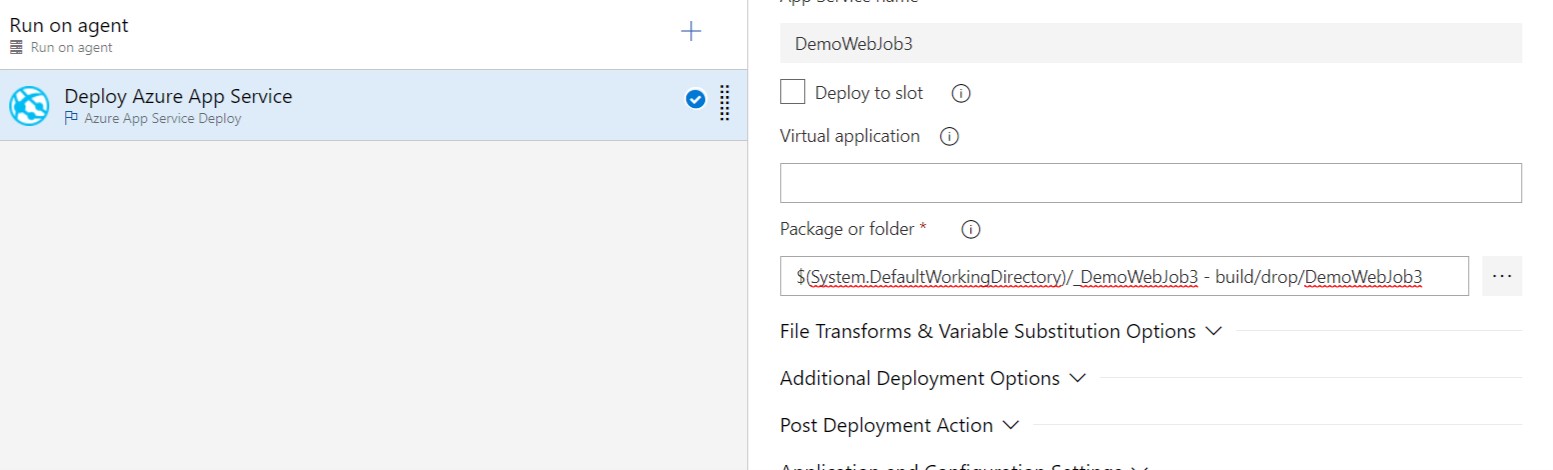
And now we’re set for the deployment.
Deployment
And like with the methods before, I created build and release that deployed DemoWebjob3. Then I put the Application Settings in place and started the App Service. And once again blobs started to pop up to the storage.
Conclusion
Deploying WebJobs with Azure DevOps is not so hard, but there’s many ways to do it. Here I discussed three of them, but I believe that someone can think of maybe three more. WebJob deployment is not very straightforward or intuitive in DevOps and there’s always several steps and things to remember to do, but with a little caution most of us can handle it just fine.